Your photos are back, your messages have arrived and the new iPhone is ready. Then you open Settings. Should you choose the biggest photo files, stop charging at 80%, or leave everything as it came across?
Start with five checks: photo format, charging, the Action button, Find My and Stolen Device Protection. Some choices depend on your day; others are worth confirming even if they were transferred from your old phone.
This iPhone 18 Pro settings guide starts after data transfer. The paths below use English menus in iOS 27, checked against Apple’s Australian support pages on 9 October 2026. They also apply to the iPhone 18 Pro Max.
1. What should your first photo save?
For everyday photos you want to send straight away, start with the regular photo format and check that Photo Mode is set to 24 MP. If it already is, keep it there while you get familiar with the camera.
Settings → Camera → Formats → Photo Mode → 24 MP
Apple’s camera settings guide separates the regular 12 MP/24 MP choice from the controls for higher-resolution capture. Resolution and file format answer different questions: how much detail you save, and how you plan to edit it.
Do I need RAW just because I bought a Pro?
Use ProRAW for a photo you intend to spend time editing. It retains more information for adjustments such as exposure and colour, with larger files as the trade-off. Regular photos for everyday sharing, ProRAW for selected edits is a useful starting point.
In Settings → Camera → Formats, enable ProRAW & Resolution Control. This makes the option available; it does not mean every shot is now RAW. In Camera, tap JPEG or HEIC at the top, then choose RAW, as described in Apple’s ProRAW instructions.
Try one regular photo and one RAW photo of the same scene. Compare their file sizes and try editing the RAW version. Keep the extra data when it helps the result you want.
2. Is an 80% limit right for your day?
If you can recharge at your desk, try a limit of 80–90% and see whether it comfortably covers your day. For a long day out or a trip with fewer charging opportunities, choose 100% and keep Optimised Battery Charging enabled.
Settings → Battery → Charging
You can select 80–100% in 5% steps. Optimised Battery Charging is available at a 100% limit; it learns your routine and delays charging beyond 80% in suitable situations. It may not activate straight away.
| Your day | A starting choice |
|---|---|
| Often near a charger | Try 80–90% |
| Long day away | 100% + optimised charging |
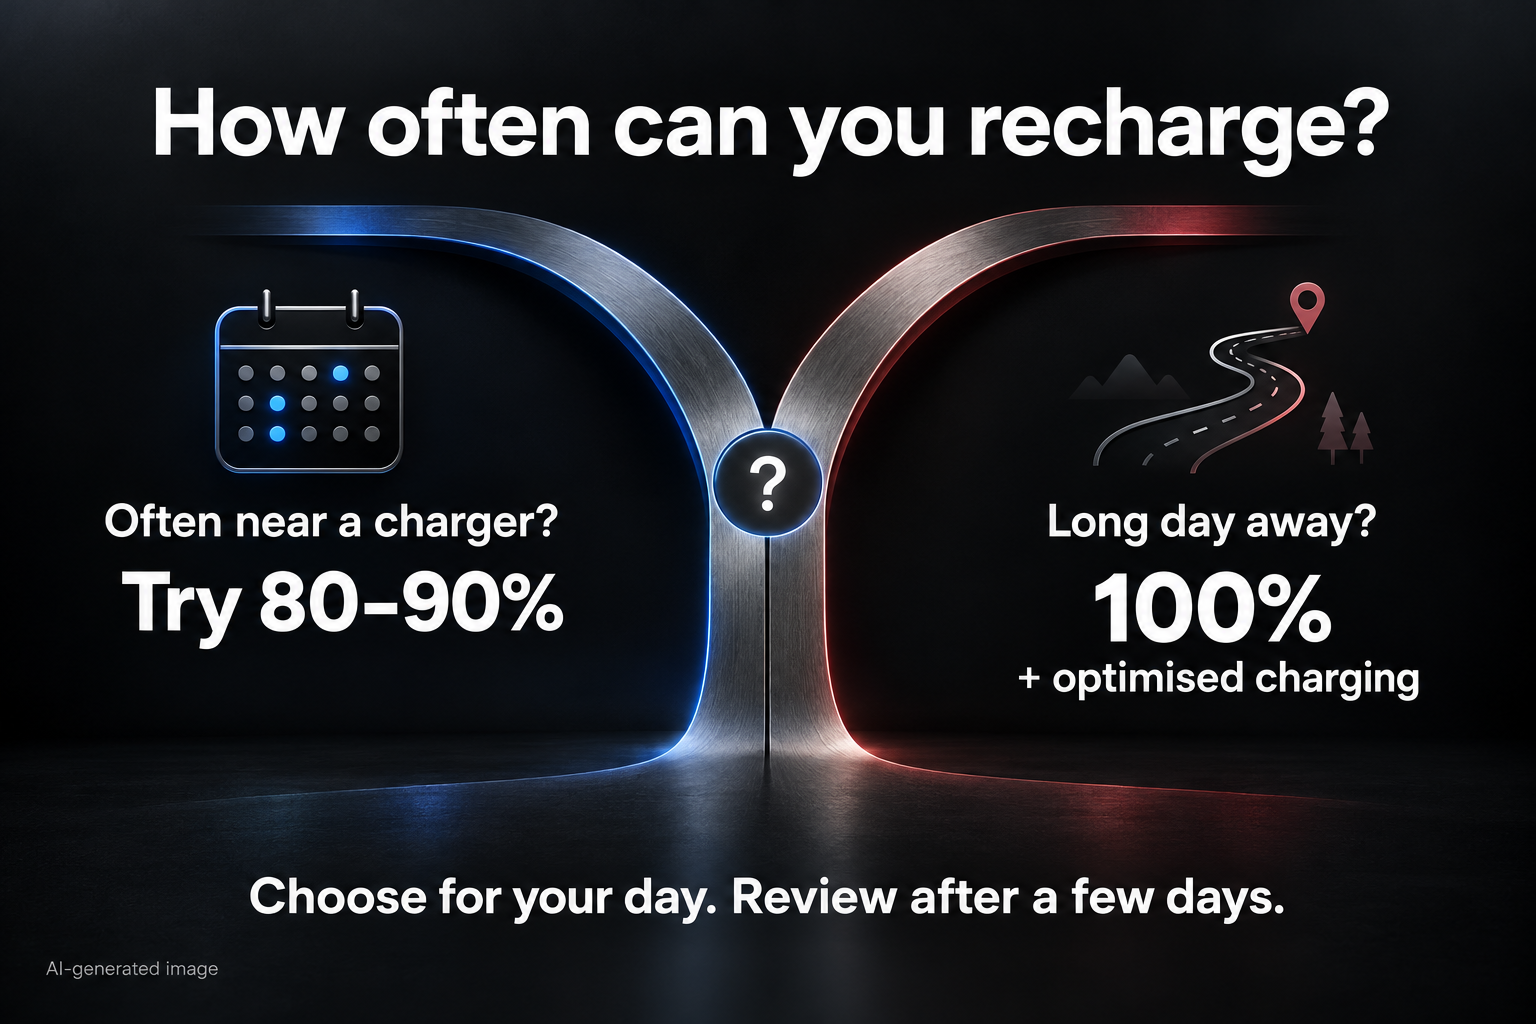
Review your remaining charge after a few normal days and raise the limit if needed. Apple lets you change the limit at any time. The aim is a setting that leaves enough charge for your plans.
3. What do you open several times a day?
The Action button is useful when it replaces a repeated search for a tool. If you often need a torch or record a quick idea, assign Flashlight or Voice Memo. If you frequently switch to silent, you can keep Silent Mode.
Settings → Action Button → swipe to your chosen action
Then press and hold the physical Action button to check it works. Apple’s Action button guide notes that Controls, Shortcut and Accessibility also need a specific option selected underneath. Choosing the category alone can leave the button with nothing to run.
Start with one function you use often. You can change it later once you know what would save you the most effort.
4. Could you find this phone if it went missing?
Before you put the old phone away, confirm that the new one is connected to Find My. Open Settings → your name → Find My → Find My iPhone, then check these options:
- Find My iPhone is on.
- Find My network is on, to help locate the device when it is offline.
- Send Last Location is on, to send its location to Apple when the battery becomes critically low.
Apple’s Find My setup guide explains the three options. Next, open the Find My app and check the new iPhone in the Devices list. That gives you a chance to recognise the right device before you need to find it.
Think of this as preparation for a phone left in a café or bag. It also gives you a route to mark a missing device as lost through Apple’s lost-device process.
5. What if someone also knew your passcode?
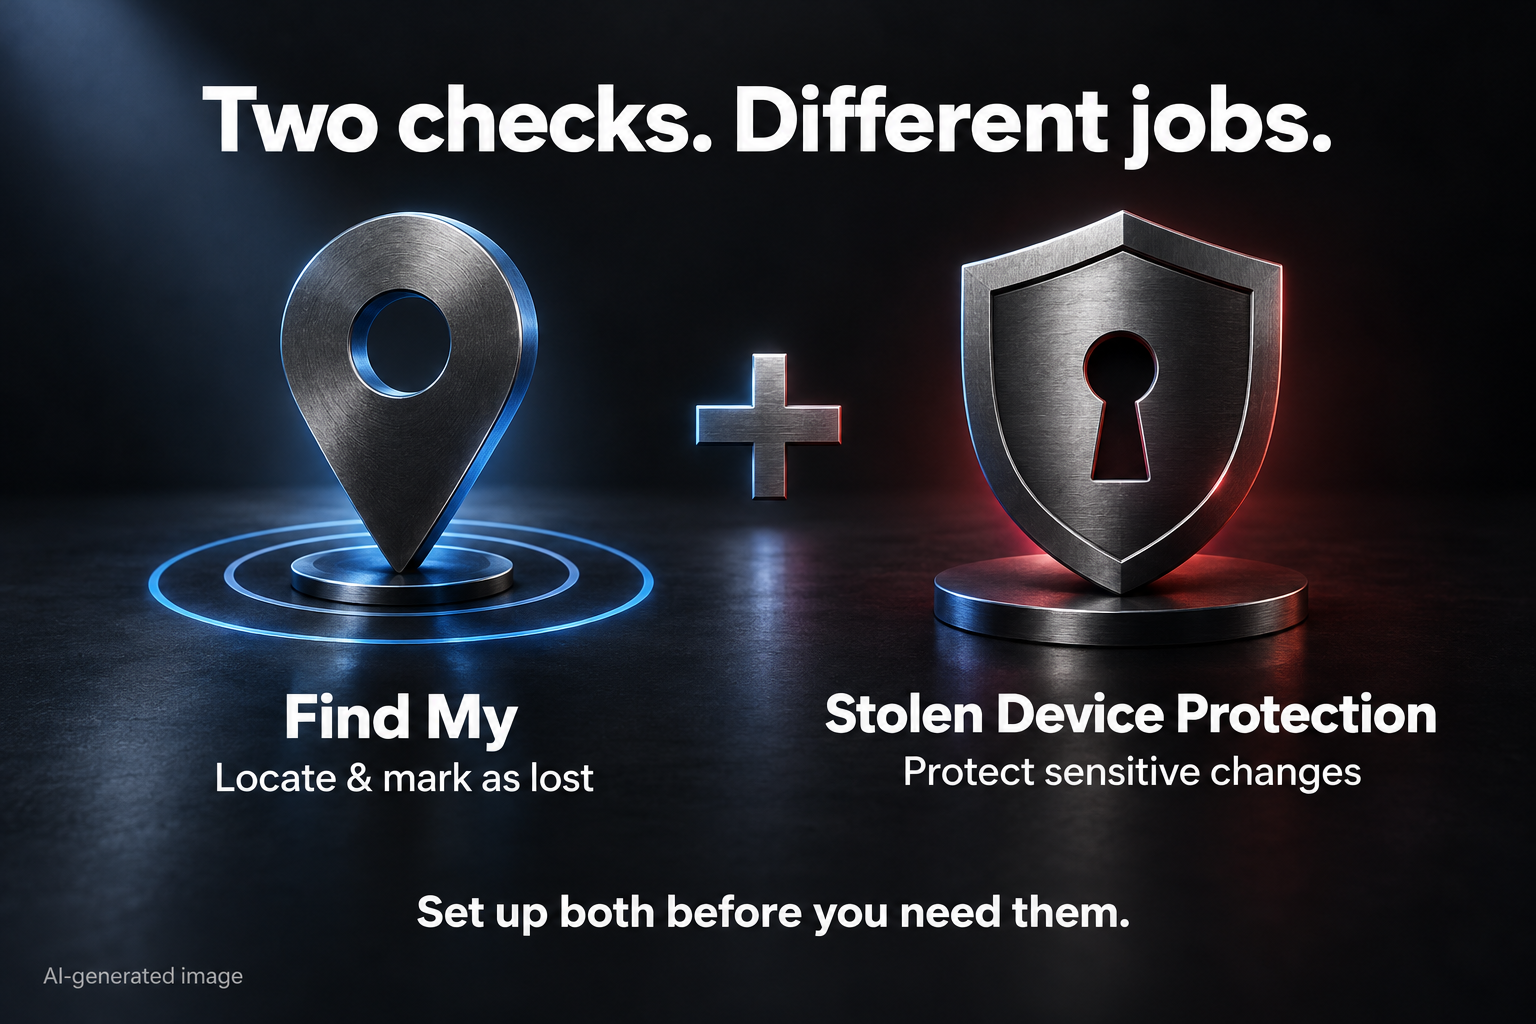
Find My prepares you to locate a missing phone. Stolen Device Protection adds safeguards to certain account and device changes if someone has the phone and knows your passcode.
With the protection active, some actions require Face ID without a passcode fallback. More sensitive changes, such as changing your Apple Account password, can require Face ID, a one-hour wait and another Face ID check. Apple’s security guide explains that sequence.
Settings → Face ID & Passcode → enter your passcode → Stolen Device Protection
Confirm it is enabled. Apple requires two-factor authentication, a device passcode, Face ID, Find My and Significant Locations within Location Services. Settings can transfer from your previous iPhone, so checking is still useful even when the feature is already on.
By default, the extra protections apply away from familiar locations. Choose Always under Require Security Delay if you want them to apply everywhere. Consider that choice before an account change you need to make immediately; Apple explains both the requirements and the location options.
FAQ
Q. Why did it charge to 100% with a lower limit?
Apple says an occasional full charge helps keep the battery percentage estimate accurate. That can happen with a limit below 100%. See what to expect from Charge Limit.
Q. Does Security Delay stop me using the whole phone?
The delay applies to specified sensitive changes, such as changing an account password. It does not impose a one-hour lock on every phone function. Apple lists the affected actions.
Q. Where is Stolen Device Protection if I cannot see it?
Look under Face ID & Passcode. Apple says you may need to set up Face ID first if the option is missing.
Take a photo, test the Action button and confirm your two security checks. Then revisit the charge limit after a few ordinary days. Your first setup should make the phone easier to use today and leave room to adjust it as your routine becomes clear.
Let’s check the previous article