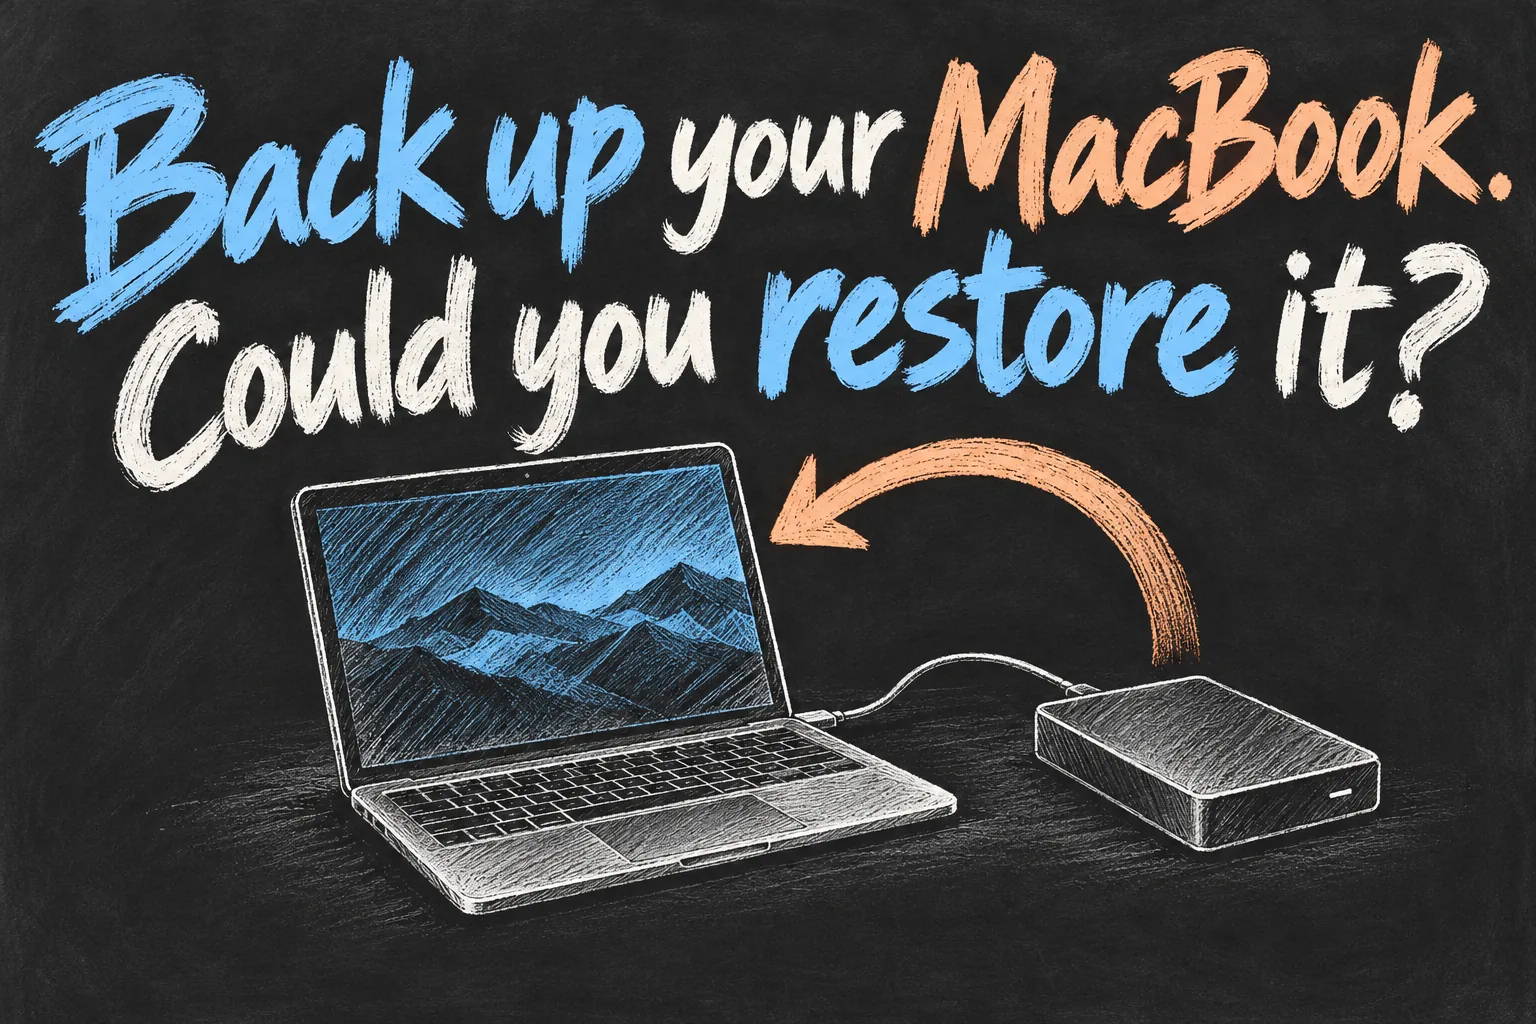
To back up a MacBook, a straightforward starting point is Time Machine with a suitable external drive. Let the first backup finish, check its completion time and practise restoring a harmless sample file. iCloud is useful alongside that routine, but seeing documents on another device does not prove that your whole Mac is backed up.
The reader’s real goal is not a spinning progress bar: it is getting work, photos or documents back after a mistake or computer failure. This guide walks through that outcome, including choosing a drive, encryption, cloud-only files and the difference between recovering one document and moving to another Mac.
In 3 Points
Decide what you need to recover
| Situation | Useful protection | Important limit |
|---|---|---|
| You overwrite or lose a document | Versioned backup such as Time Machine | The wanted version must have been captured and retained. |
| You want the same current files on multiple devices | iCloud Drive sync | Changes and deletions can propagate to the other devices. |
| The Mac is lost or its internal drive fails | A separate backup stored somewhere safe | A copy kept only on the same internal drive is not independent. |
| You buy a replacement Mac | Time Machine backup plus Migration Assistant | This is not simply a bootable clone of the old operating system. |
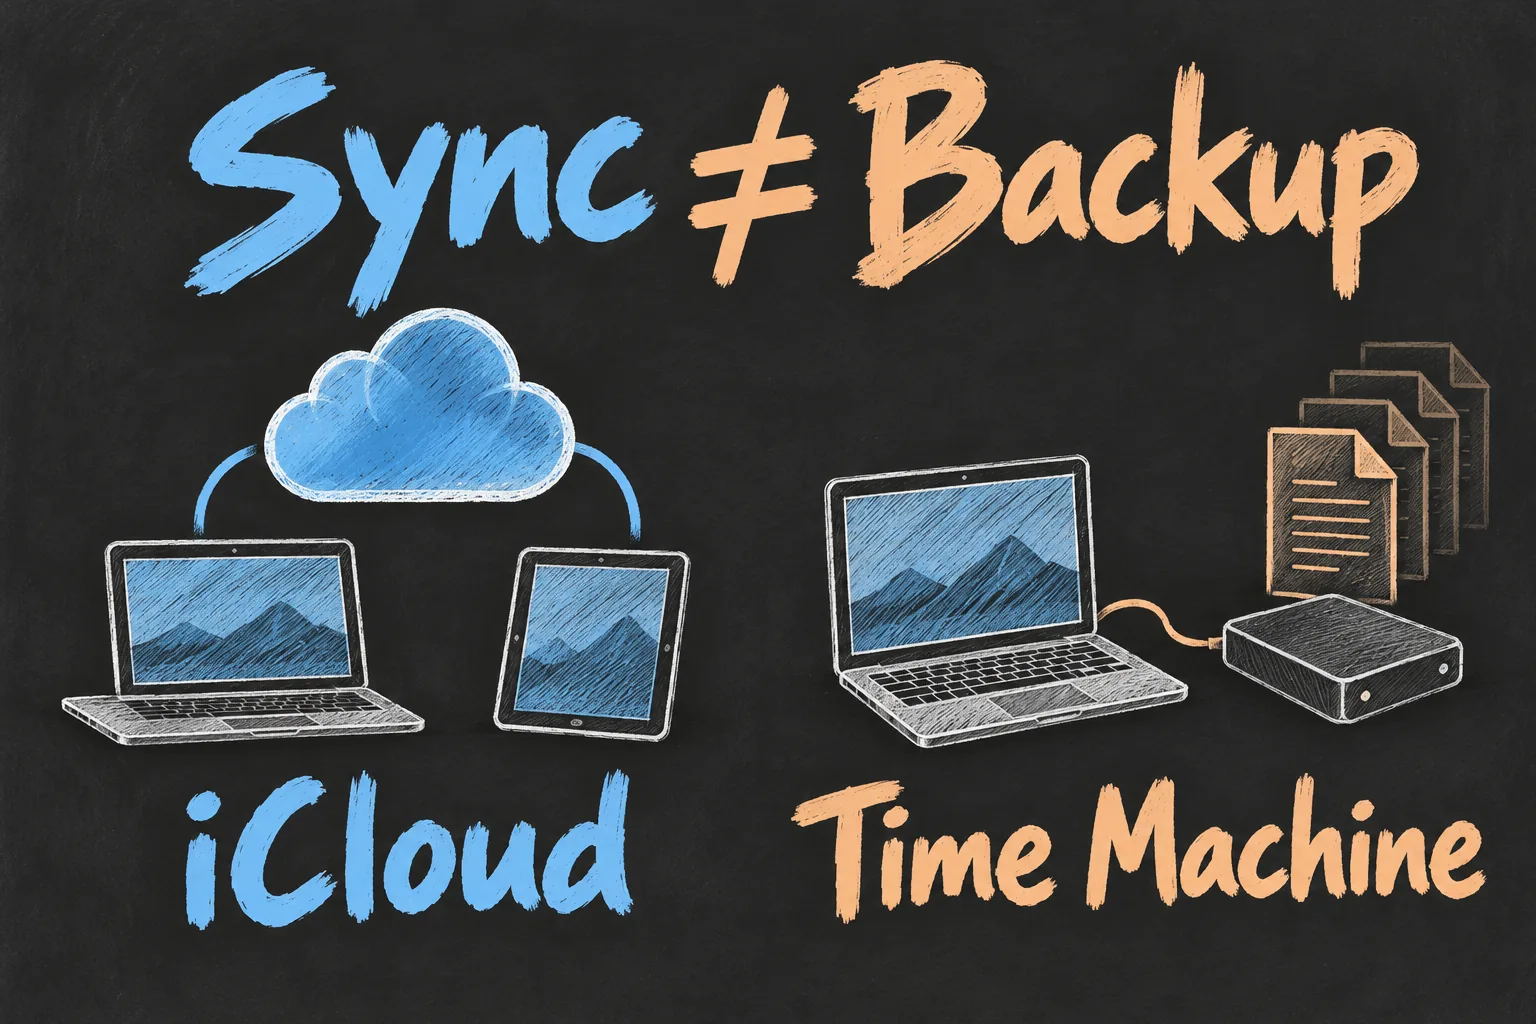
iCloud Drive keeps files up to date across devices. That convenience is also why a deletion can appear elsewhere. Apple offers recovery for recently deleted files for a limited period, generally 30 days, but permanently removed items are not recoverable through that route. Do not use that recovery window as your only long-term backup strategy.
Make a short list of the folders you could not recreate: study assignments, work projects, family photos and exported records, for example. Include files on external working drives or in third-party services. Ask where each file actually lives and how you would recover it, rather than counting the number of cloud logos on the screen.
Choose a backup disk without erasing valuable files
Apple recommends a Time Machine storage device with at least twice your Mac’s storage capacity: for a 512GB Mac, think about a 1TB or larger backup destination. This is capacity guidance, not a promise about how many months of history it will retain. Changes to large projects and the amount of data you keep affect that history.
A compatible external HDD or SSD can be used. A portable SSD may suit someone who regularly carries the drive; a larger desk-based drive may suit a home routine. Compare capacity, compatibility, connections and warranty rather than assuming the most expensive drive is required for basic documents. No drive model is ranked or speed-tested here.
Treat setup prompts seriously: the Mac may need to erase or reformat the chosen destination. If it contains files you need, copy them elsewhere and verify them before proceeding. Disconnect unrelated removable drives if that makes identification easier, then match the intended drive’s name and capacity. Never select the internal startup disk as the erase target.
Reserve the backup disk for Time Machine where practical. A shared exFAT exchange drive is a different job from a Mac-native backup destination. Follow Time Machine’s format prompts rather than applying a cross-platform file-sharing tutorial to the backup disk. Older existing backups can have different supported formats from a new setup.
Back up a MacBook with Time Machine
- Connect the intended external drive using a suitable data cable or adaptor.
- Open System Settings → General → Time Machine on recent macOS, then choose Add Backup Disk.
- Select the correct destination and follow Set Up Disk, reviewing any erase warning before confirming.
- Choose backup encryption where offered, and store the password securely somewhere you can still access if this Mac is unavailable.
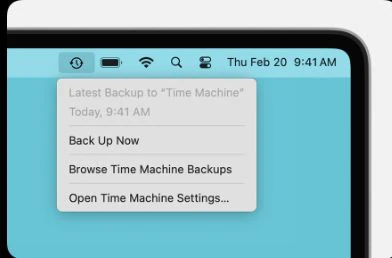
- Let the initial backup finish. Use Back Up Now in the Time Machine menu when you want to start one manually.
Encryption matters because a portable backup may contain personal files. It also creates a responsibility: restoring encrypted backups requires the backup password. Do not assume that knowing your Apple Account password replaces it. Store the password in a trusted password manager or another secure method that does not depend solely on the computer you are protecting.
You can keep working during a backup, although the first run may take time. If you disconnect a laptop backup drive every morning, make reconnecting it part of your routine. Automatic scheduling cannot write to a drive that is not available. Check the latest successful backup date before a major update, repair or trip.
Verify completion and restore a sample file
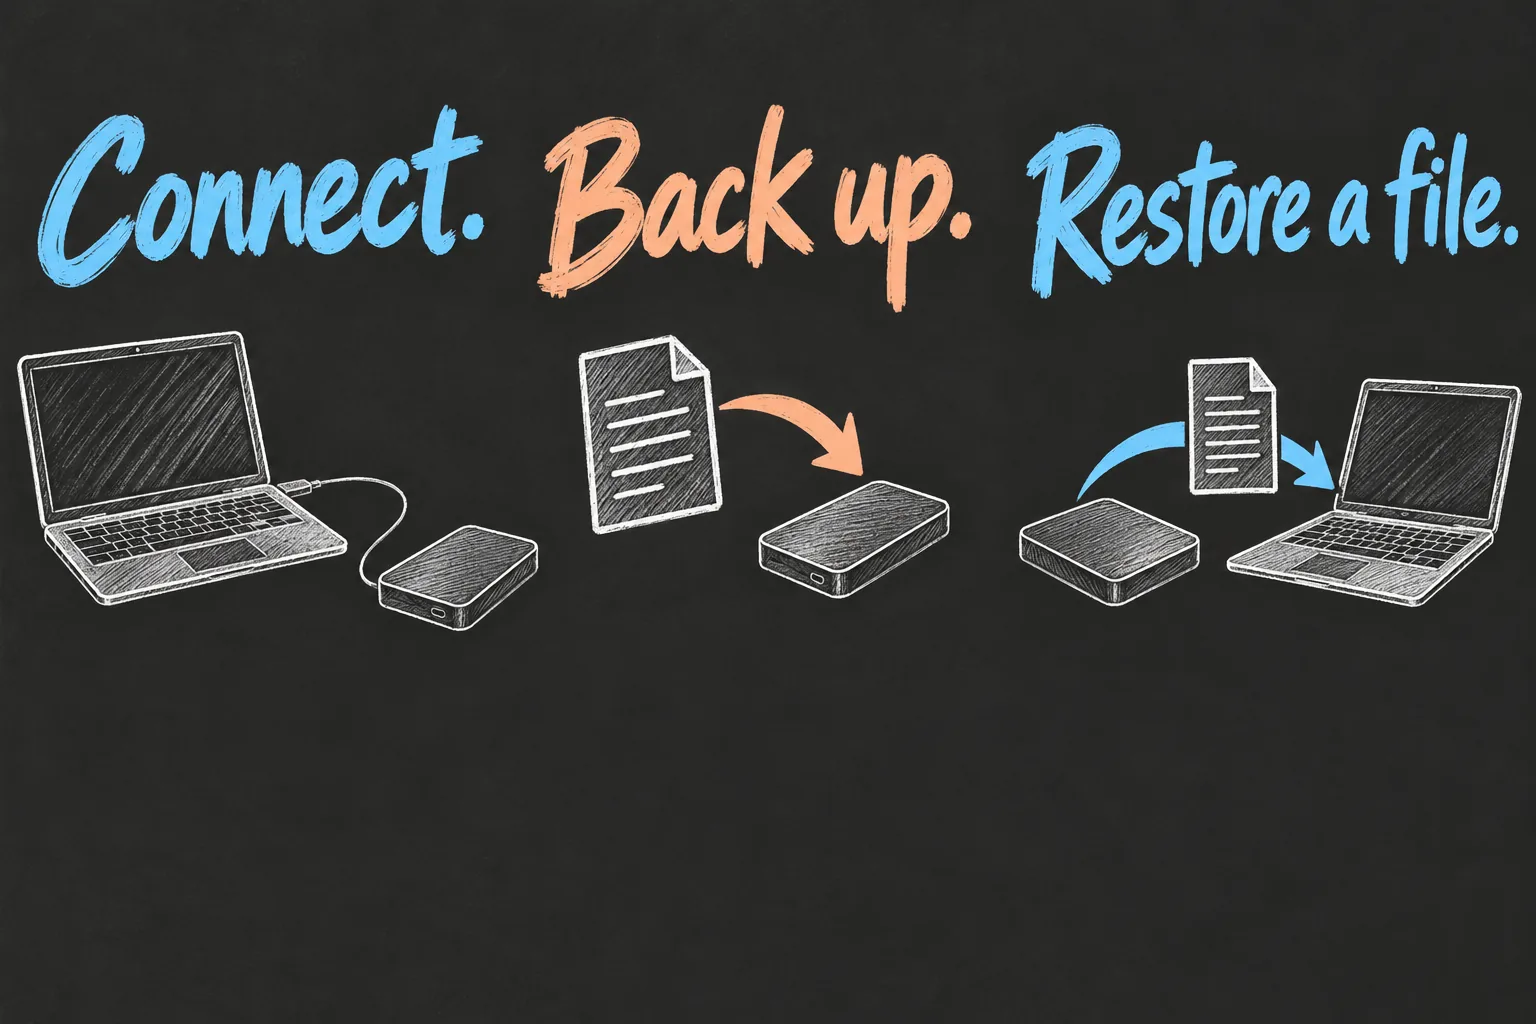
- Before the backup, create a harmless document in a normal local folder with a distinctive filename. Keep the original; you do not need to delete real work for a test.
- After the backup completes, check the latest successful backup time in Time Machine. A setup screen or partial progress is not a completion confirmation.
- Open the relevant folder in Finder, then enter Time Machine using its menu or app.
- Find the sample in the captured date and restore it. Follow any prompt about keeping both copies or replacing an existing file carefully.
- Open the restored document and check its contents. If you are unsure, use a separate harmless test rather than overwriting a real project.
Inspect backup exclusions as well. A folder deliberately excluded from Time Machine will not become protected merely because the rest of the backup completed. If important files exist only in iCloud or another cloud service, check whether their actual contents are downloaded and whether a restored copy opens. A filename or cloud placeholder is not, by itself, proof of an independent copy.
For cloud information that needs its own archive, use the service’s supported export or download process and verify those files separately. Do not switch off syncing, remove originals or reorganise a live photo library just to make a test easier. The purpose is to establish recoverability while preserving your current working data.
What each result tells you
No recent completed backup date means the backup job itself needs attention: reconnect the backup disk and check Time Machine’s reported error. A completed date but a missing sample file points to a different question: was that file excluded, stored on another volume, or only available online? A successful sample restore is the useful final check. Keep the original file until you have opened the restored copy, and do not erase the Mac merely because a progress bar finished.
Keep the backup useful after the first day
A completed backup from months ago does not include today’s assignment. Connect the disk regularly and check successful dates. If you unplug it for storage, eject it correctly first. For irreplaceable data, consider a second independent copy in a different location so one theft, spill or damaged bag does not take the Mac and its only backup together.
Time Machine can also maintain local snapshots on supported APFS storage. They can help recover earlier files when the external disk is disconnected, but they live on the same internal storage. They are not a replacement for an independent backup if that storage fails or the laptop disappears.
If you need a few files, use Time Machine’s file restoration. If you need to transfer your user data and apps to another Mac, Apple documents Migration Assistant using a Time Machine backup. A Mac that cannot start may need macOS reinstalled first. Read the correct recovery instructions before erasing anything; a backup routine should not depend on improvising after a failure.
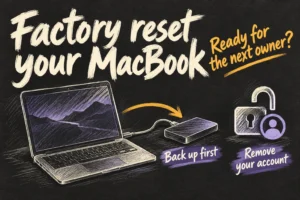
If you are backing up because you plan to sell the laptop, finish this recovery check before following our MacBook reset-before-selling guide. A successful reset and a usable backup are separate outcomes.
Frequently asked questions
Is paying for iCloud+ enough?
A storage subscription provides cloud space, not a guarantee that every Mac file, app and recovery requirement is covered. Decide what needs syncing, what needs versioned backup and what needs a separate export.
Can I use the same physical drive for work files and backups?
Advanced storage layouts can separate uses, but two volumes on one drive still share the same hardware failure. For a simple first backup, a dedicated destination is easier to understand and check.
Will Time Machine keep every version forever?
No. Available capacity and Time Machine’s retention behaviour limit the history. Keep a separate archive if you need a particular completed project preserved beyond normal rolling backups.
Sources and reading notes
Apple Support: Back up your Mac with Time Machine, Backup discs you can use with Time Machine and Restore your Mac from a backup; Mac User Guide: Restore items backed up with Time Machine, local snapshots and backup passwords; iCloud User Guide: file synchronisation and deleted-file recovery. Reviewed 27 October 2026. Benchmark reading compared Macworld’s Time Machine and iCloud explanations with MacRumors’ setup guide. This is a research-based workflow, not a drive test or recovery guarantee. Illustrations are original AI-generated sketches.
Revision check, 1 November 2026: Apple Support, Back up your Mac with Time Machine.
