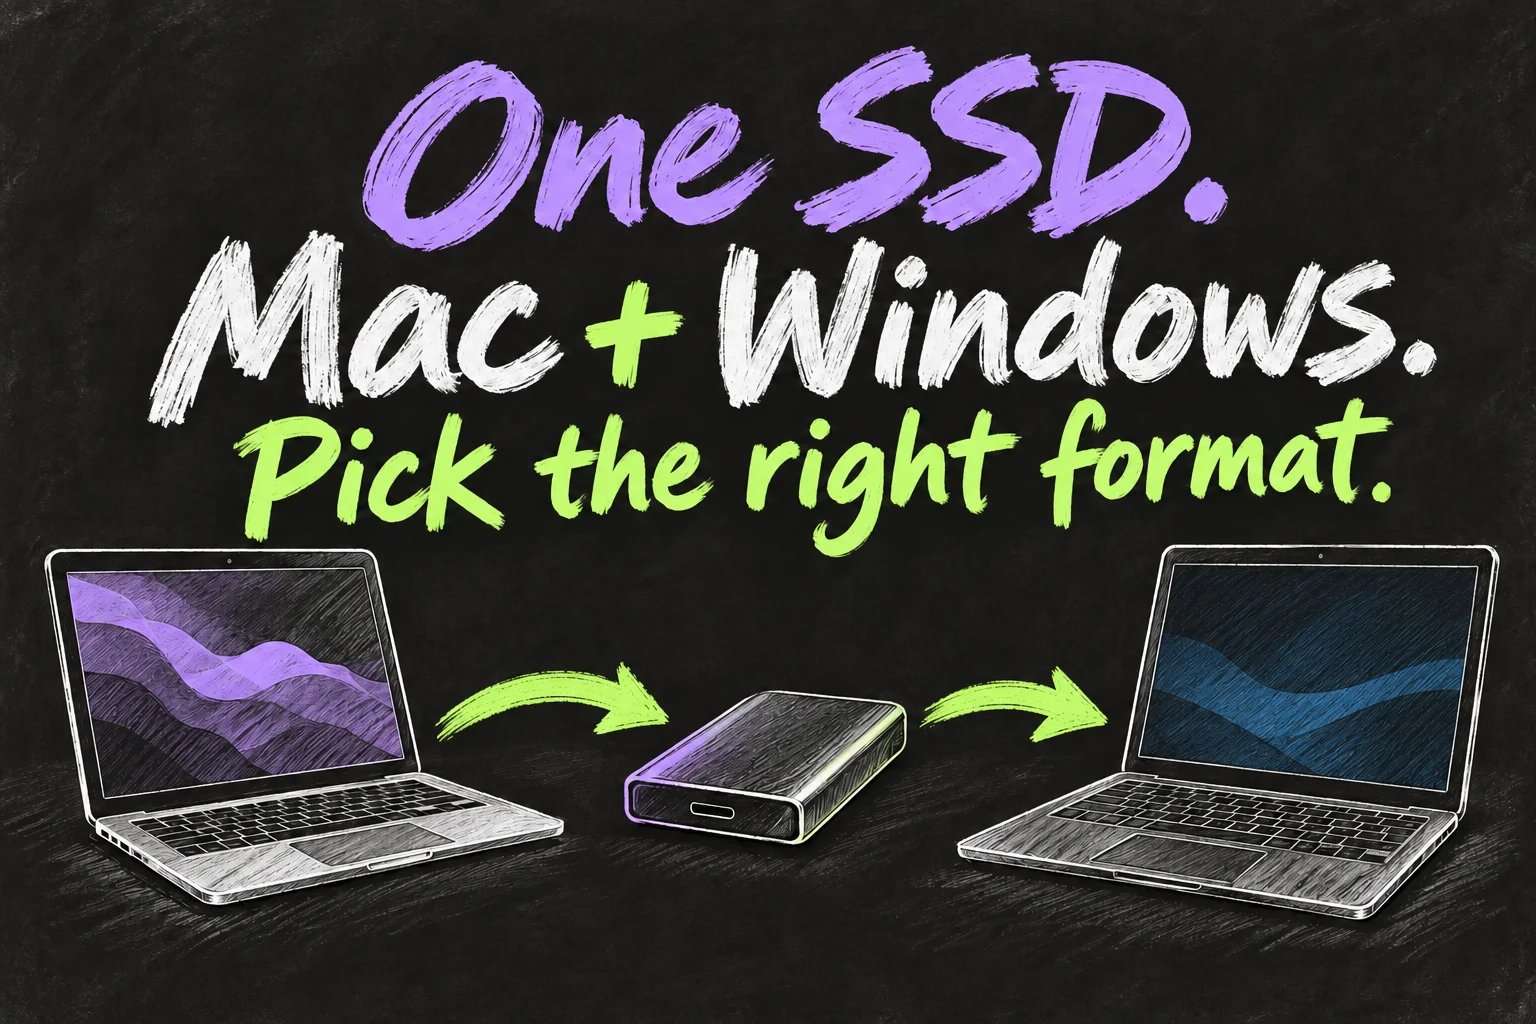
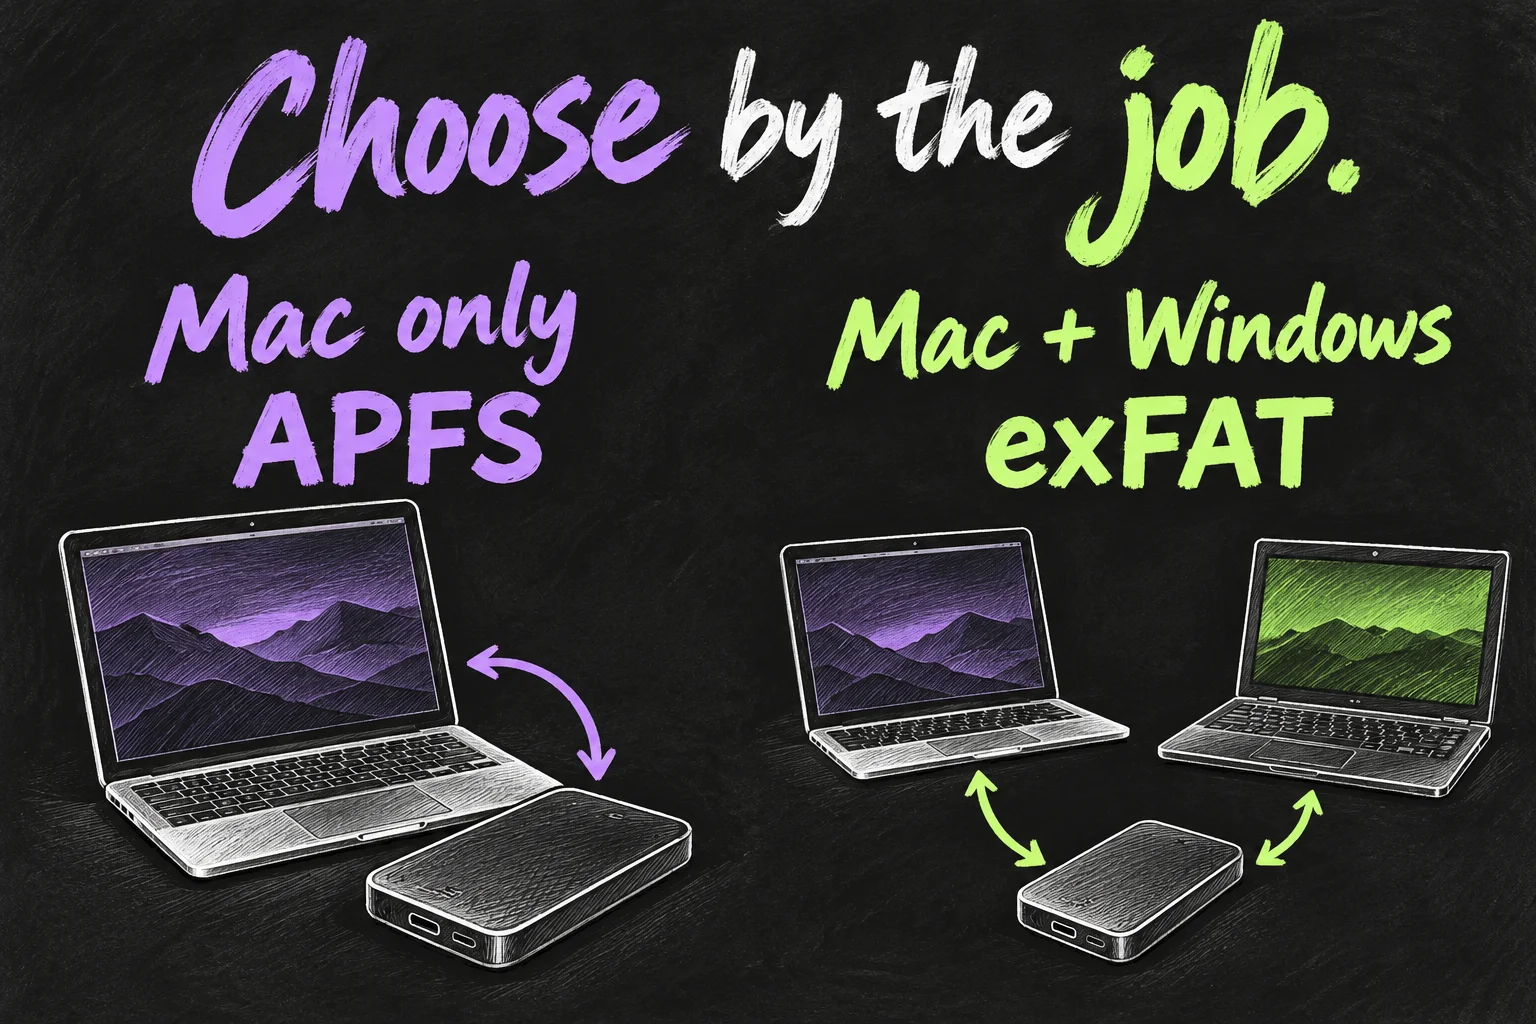
An external SSD for Mac and Windows will usually work best with exFAT when your goal is moving ordinary files between modern computers. Choose APFS when the drive stays with Macs and you need Mac-specific capabilities instead. Before changing either format, copy and check any files already on the drive: formatting erases data.
The most common confusion is a Windows-formatted drive that opens on a Mac but refuses new files. That does not automatically mean the SSD is broken. This guide helps you identify the existing format, decide whether to change it and test the result without treating the only copy of your documents as disposable.
In 3 Points
Choose an external SSD for Mac and Windows by its job
| Job | Practical format choice | What to know |
|---|---|---|
| Move documents, photos and large videos between Mac and Windows | exFAT | Both systems can use it without adding an APFS or NTFS driver. Check specialised-device requirements separately. |
| Mac-only working storage | APFS | Mac-native SSD format with options including encryption. Windows does not support it natively. |
| Windows-only storage | NTFS | Windows-native option; macOS normally reads but does not write it without additional software. |
| New local Time Machine destination | Use Time Machine’s recommended setup | This is a backup destination, not simply an exFAT exchange drive. |
| Old TV, console or other device | Check that device’s requirements | A format suitable for two computers is not automatically supported by every appliance. |
A USB-C plug does not tell you the file system. The same hardware can be formatted in several ways, and a new drive may already use exFAT. If it works for your task, there is no benefit in erasing it just to follow a setup guide.
FAT32 is another widely recognised format, but its approximately 4GB single-file limit makes it awkward for large videos. exFAT avoids that particular limit. This does not mean every video format will play on an old television: the television also needs compatible file-system and media support.
Check the current format before changing anything
- Connect the SSD directly using a suitable data cable. On Mac, open Finder and select the drive under Locations.
- Choose File → Get Info, or press Command-I, and read the format. You can also inspect it in Disk Utility without choosing Erase.
- On Windows, find the drive in File Explorer, open its Properties and check the file system.
- If you can read files but cannot add any on Mac, check for NTFS. Also consider free space, permissions or a disk error rather than assuming format is the only possibility.
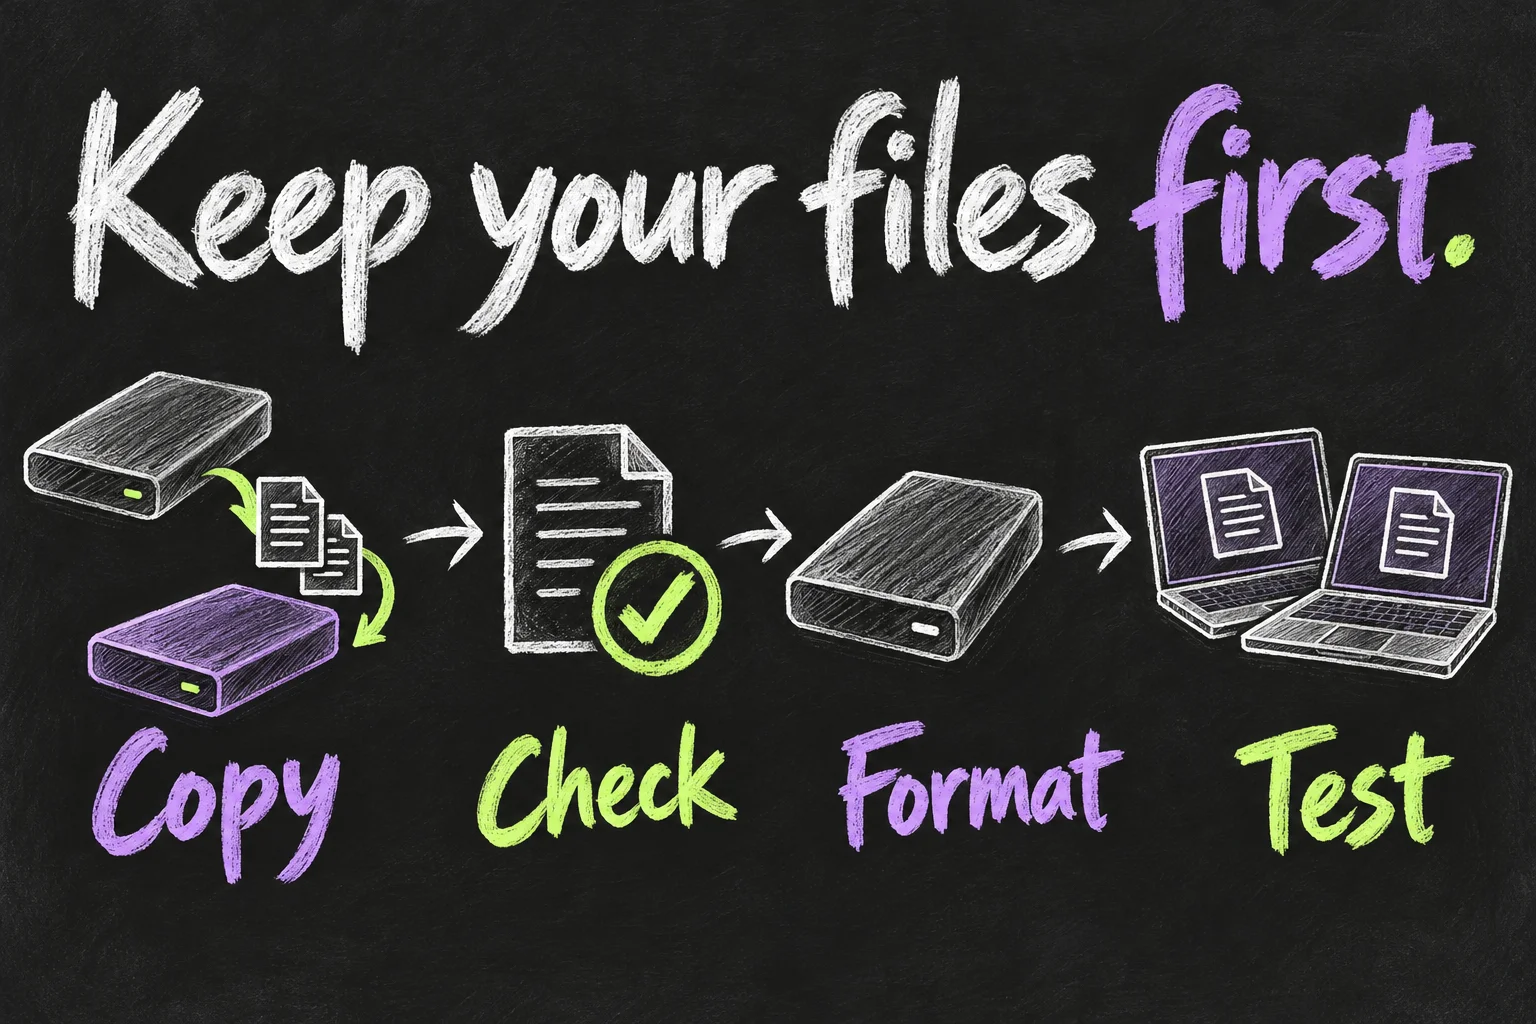
If an NTFS SSD contains your only copy of important files, first copy those files to another working location. Open a sample of documents and large media files from the copy, and check that the folders you need are present. Do not confuse seeing filenames with verifying that the copied files actually open.
If the drive is unreadable, do not initialise or erase it merely because the computer suggests doing so. A formatting prompt is not a recovery tool. Resolve the data-recovery question first if the existing contents matter.
Format the external drive on Mac, only after backup
These steps erase the selected external device and its existing volumes. Disconnect other removable drives if that helps you identify the correct one. Match its name and capacity carefully; do not select the internal Mac startup disk.
- Open Applications → Utilities → Disk Utility. Choose View → Show All Devices.
- Select the intended physical external SSD at the top of its own device hierarchy. Confirm again that it is the external device you have backed up.
- Click Erase. Enter a clear name, choose exFAT for modern Mac/Windows exchange, and use GUID Partition Map for the modern-computer setup described here.
- Recheck the selected device, then confirm Erase and wait for completion. Click Done.
- Copy a few non-sensitive test files onto the newly formatted drive before returning the full archive.
If the Scheme menu is missing, check that you selected the physical device rather than just one volume. Selecting the whole device is also why the erase warning matters: other volumes on that external device are not preserved by this workflow. Specialised older hardware may require a different scheme, so follow its documentation rather than assuming this modern-computer setup is universal.
For a Mac-only SSD, select an appropriate APFS option instead of exFAT. APFS (Encrypted) is available for a password-protected Mac volume, but it is not a native Windows sharing solution. Decide who must open the drive before choosing encryption and format options.
Test both computers and eject properly
- On Mac, create a test folder and copy a small document plus a larger file you can open. Open them from the SSD.
- Eject the drive from Finder, then connect it to Windows. Open those files and create another small test file on the SSD.
- Use Windows’ safe-removal control, reconnect to Mac and open the Windows-created file.
- When both directions work, copy the rest of your files. Keep the separate verified copy until the transfer is complete and your backup routine is in place.
Close apps using the drive and eject it before unplugging. If macOS says the device is in use, close the relevant files and try again; do not make pulling the cable your normal workaround. Apple also documents logging out or shutting down as further options when a drive will not eject.
Changing the format is not a promised speed upgrade. Transfer speed still depends on the SSD, enclosure, cable, computer port and task. If a drive disconnects or is not detected, test the cable, connection and power path before formatting it again.
Test the return trip, not just the first copy
Before moving your only working files, copy a disposable document from Windows to the SSD, open and edit it on the Mac, then reopen that edited file on Windows. Also copy and play a large video if that is the drive’s main job. Eject between computers. This checks the actual round trip you need; seeing the drive in Finder proves much less. If either copy fails, keep the originals and investigate the format, cable and connection before trusting the drive.
Keep file exchange separate from your backup plan
A portable SSD with your only copy of a folder is storage, not a second backup. If you remove the originals from the computer to make space, arrange another independent copy of the files you would not want to lose.
For a new Mac backup destination, use Time Machine’s recommended disk setup rather than forcing the shared exFAT drive into that role. Apple recommends reserving the backup disk for Time Machine; advanced users can configure a separate APFS volume for other files, but this does not make that volume natively readable by Windows.
If your interest is phone storage rather than Mac/Windows exchange, our iPhone external-SSD guide covers a different workflow. External file storage does not add internal app-installation capacity to a phone or computer.
Frequently asked questions
Can I change NTFS to exFAT without deleting anything?
Do not treat formatting as a non-destructive conversion. For this workflow, first copy and verify the data elsewhere, format the intended external device and then copy files back.
Why can my Mac open the SSD but not save to it?
NTFS is one common reason. Check the actual format, available space and permissions before deciding what to change. If the disk reports errors, protect the data before repair attempts.
Do I need an expensive SSD made for Mac?
For ordinary file exchange, compatible hardware, a suitable cable and the correct format matter more than a Mac label. Check the manufacturer’s support and warranty for the particular drive; this article does not test or rank SSD models.
What if I accidentally erased the wrong drive?
Stop writing new data to it. Do not copy files back or repeatedly format it. Recovery is not guaranteed, especially for SSDs; assess professional recovery options if the lost data is important.
Sources and reading notes
Apple Disk Utility User Guide: File system formats; Erase and reformat a storage device. Apple Support: Time Machine disk guidance; Connect and use other storage devices; Ejecting a disk; Disk Utility repair guidance. Kingston and Seagate: SSD-format and cross-platform compatibility explanations. Benchmark reading compared their setup order and format tables with Scope’s external-drive guide; instructions above are based on official documentation. Reviewed 26 October 2026. This is a research-based guide, not a drive benchmark or data-recovery guarantee. Illustrations are original AI-generated sketches.
Revision check, 1 November 2026: Apple Disk Utility User Guide, File system formats available in Disk Utility.